Introduction:
This project will focus on those under the age of 5 with physical and learning
difference’s by providing developmentally appropriate outdoor learning environment and experiences. As well as working with the staff at the early intervention center to design and use the equipment as well as support the skill development of special needs children.
Safety Tip:
When planning for artificial turf installation, it’s important to ensure that the selected products are safe and suitable for young children, particularly those with special needs. Consider turf options that provide additional cushioning for falls and are certified non-toxic, as well as designs that facilitate wheelchair or walker access.
Consulting with occupational and physical therapists during the planning phase can help tailor the environment to meet the diverse needs of the center’s children.
Further, construction, have local utility companies mark where underground services are located and drainage systems.
Time Line:
You should typically allow 2-3 days for a project such as this. The first day will focus on clearing the ground, setting the border and compacting the ground. While the second day is focus on fitting and trimming the artificial turf, as well as spreading sand for finished look.
Planning and Design
Design Size:
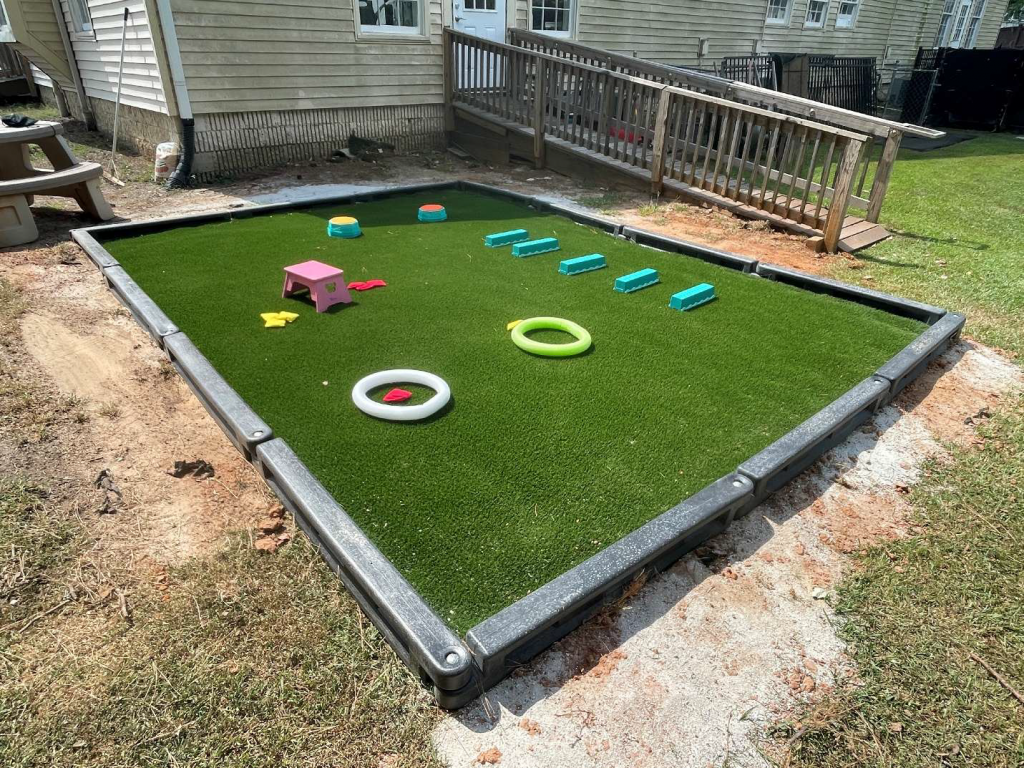
For this project we designed and built an outdoor playground focused on a limited
space to just be utilized by infants, toddlers, and preschoolers at the early
intervention center. Further, the limitation of the space was supported by the preconstructed materials. For example, the artificial grass is sold at 12-foot widths
but lengths up to 24 feet. In this case, the border came in sections of 4-foot
lengths, permitting us to create a 12 Foot by 16 foot play area. Therefore, we only
need to utilize a single piece of 12 foot by 16-foot turf. Without the need for
seams and enough to trim odd edges.
Installation Temperature:
Artificial Grass should be installed at 50 degrees Fahrenheit and above.
Project Tools:
Before installation you need to check for the right tools and understand how each
tool functions when performing this project. Most of the tools listed are typical
found in most homes with the exception of the compactor. In this case, contact a
rental agency or home improvement store that supplies instruction and training.
Below is a listing of all the tools applicable to synthetic turf.
List of Tools:
(See photo Appendix, Figure 1:Tools)
Shovel, Hoe, Wheelbarrow, Measuring Tape, Spray Paint or Chalk Line,
Landscape Rake, Plate Compactor, Trowel, Carpet Cutting Knives or Razor Knife,
Carpet Kicker, Hammer, lawn staples.
Borders:
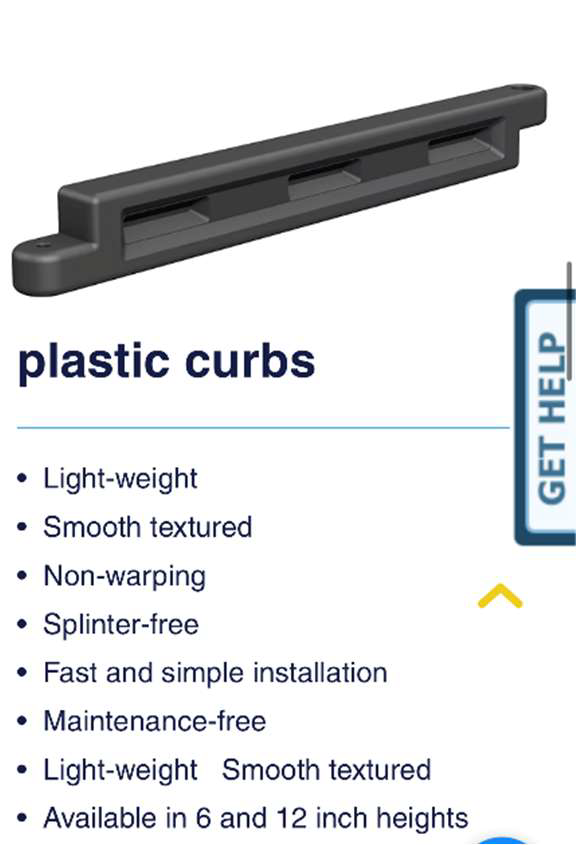
As mentioned, the border for this playground consists of Rubber Ecycle Plastic
Curbs (https://www.rubberecycle.com/accessories) which is offered in segments
of 4 feet by 12 inches by 4 inches.
Borders:
Because the artificial turf is directional, you must make note of the fibers
directions (grain). Determine which direction you will roll out your turf and how the turf will be laid down and seamed. Most projects tend to face towards the viewer’s perspective. If possible, you must always apply the turf with the fibers of the turf against the slope of your application area. Once you have made your decision on what direction your turf will go make sure to always run the fibers in the same direction. If you do not lay the turf, with the fibers going the same direction, the seams of your project will stick out and be too obvious.
Artificial Turf Selection:
For this installation, we chose The Home Depot Lifeproof with Petproof
Technology. This specific artificial grass is suited for outdoor use with high traffic as well as coating against pet urine.
Installation
Ground Preparation:
Measuring & Outline:
(See Photo Appendix, Figure 3: Measuring & Outline)
To begin we rough measured the width and length of the area by using irrigation
flags or landscape stakes. Note the direction you have decided to lay the turf
when you did your planning.
Removing Topsoil:
Normally we would have utilized a sod cutter, hoe or shovel to cut grass, to
remove vegetation from your marked area. However the areas was already clear
of vegetation but needed a few grass spots as well as weeds. We removed them
with a shovel and disposed of easily. Further we removed large rocks or roots
that are unwanted.
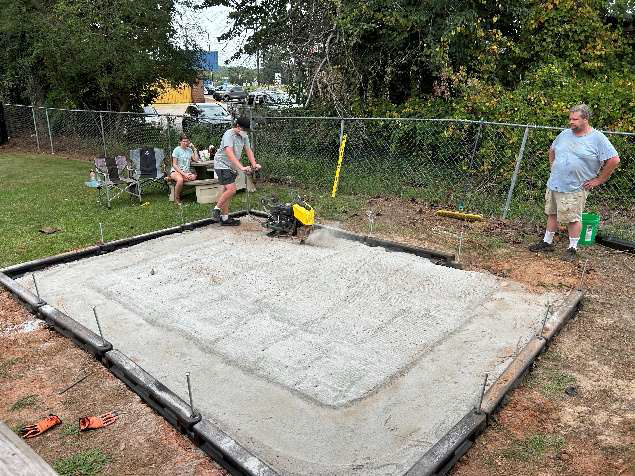
Rough Grading:
With a landscape rake, rough grade your turf application area. We used a garden
hose to lightly water the area and then compact the area with a plate compactor
making passes over the project area until you have ensured that your compaction
is approximately 95% compaction.

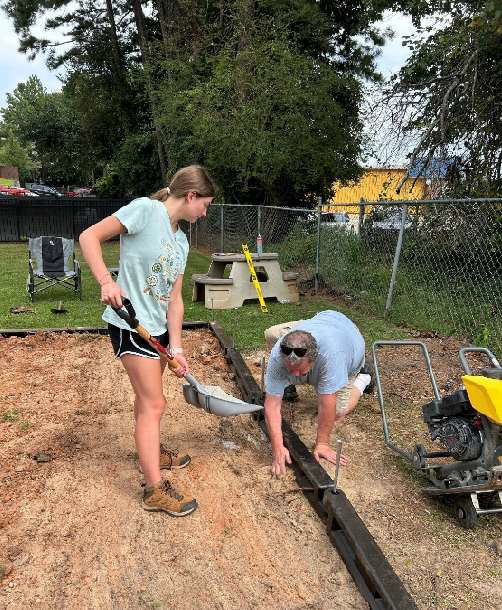
Edging Installation:
We installed the rubber e-cycle border with three four foot segments on the north
and south ends, and four four foot segments on the east and west ends. To
create a rectangle with corners at 90 degrees. The east and west sides were
installed with a downgrade from the north to south of one inch per four feet to
promote drainage.
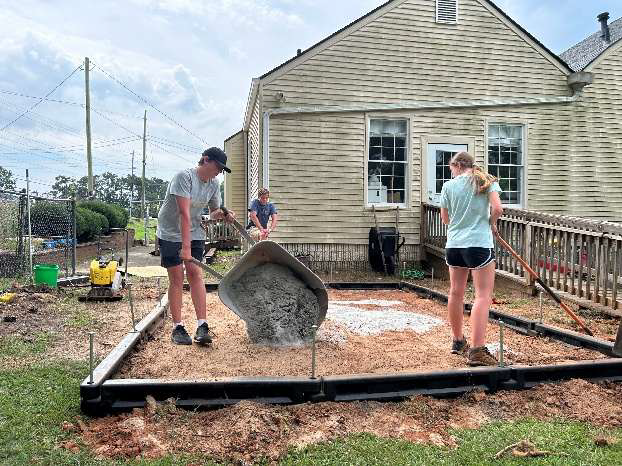
Base:
The base material we used was M10 installed into the bordered area and then
compacted to a three to fourth inch depth. This facilitates a compacted surface for
the artificial turf, as well as promoting drainage.
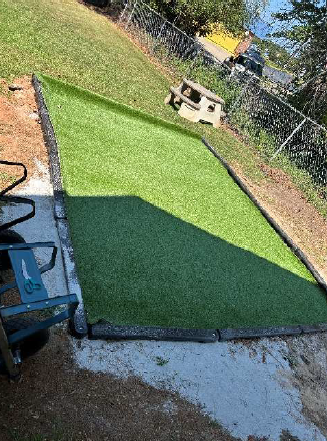
Artificial Turf Installation:
Following the installation of the border and compacted gravel a solid piece of
Lifeproof Artificial grass was placed within the bordered area with some extended
material for trimming. Trimming to the interior boarders was performed with a
standard box cutter knife.
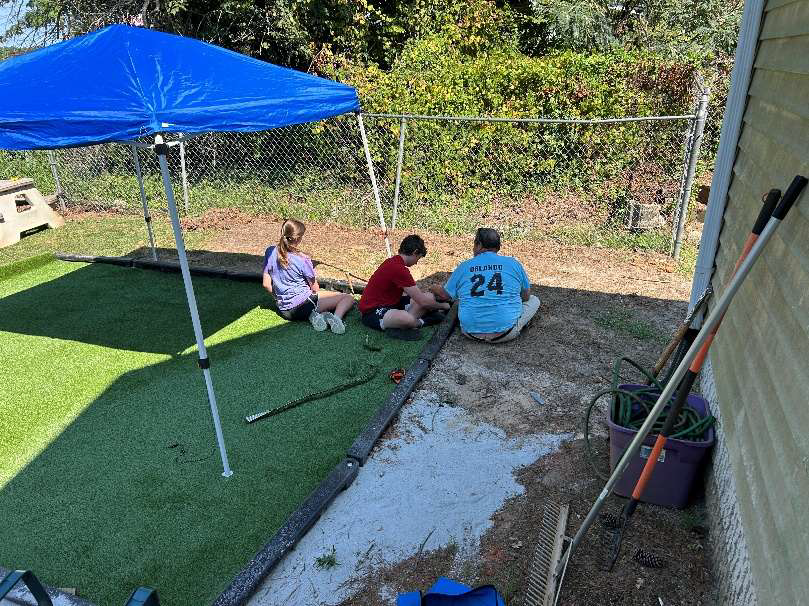
Perimeter:
The perimeter of the turf is secured with three inch by 5 inch stakes every six
inches.
Infill:
Last step is to spread sand (or other type of infill) to be place within the blades to
cause the blades to stand up, improve durability in traffic zones, and emulate the
look and feel of natural grass. Using a leaf blower, push broom or plastic rake you
can quickly clean up the area and this also helps agitate the blades of artificial
grass to help the stand-up better.
Artificial Turf Maintenance:
Although, artificial grass is maintenance free, however use of push broom, rake or
blower to care for your artificial turf. Blow off or rake your grass to remove fallen
leaves, branches and other organic debris at least once per month and once
every 4 months the artificial grass should be brushed with a push broom against
the grain to help eliminate any debris and dust, as well as, stabilize the fibers.
Furthermore, pick up solid pet waste on a regular basis then rinse the turf area
with water to help flush and further clean out the system. Weekly rinsing/flushing
will help keep your turf area smelling fresh and odor free.